Images of the Overloaded Kayak In Action

Sunday, October 2, 2011

Kayakless

I just sold the Stealth. As much as I hate getting rid of it, it had to be done. I've been having some problems with the fingers on my right hand and haven't been able to paddle for some time now.  I've been advised to lay off the paddling until the problem clears up.  I figured it would be best to sell it while the weather is still good and I could get a decent price for it. Nothing sucks quite so bad as trying to sell a kayak in the dead of winter. By the time next spring rolls around I should be living in another state, hopefully my fingers will have healed and I can start working on a new kayak. Where we move to is going to determine what type of kayak I get. If we are anywhere near the Gulf Coast I'll get another Malibu X-Factor. If we go inland and have only lakes or rivers in the vicinity, I'll go with an OK Trident or a Wilderness Systems Tarpon 160T. Either way, it will be a long couple of months. Can't wait to get back on the water.

Saturday, September 25, 2010

Back in drydock

The yak came off the truck today; pretty much signalling the end of kayak fishing this summer. The new job has ruled out weekday fishing and I'm travelling too much to keep the yak on the rack. I used almost a full tank of gas driving to and from L.A. this week. With more frequent trips ahead, driving with the giant yellow wind sock is not going to happen. The kayak is going to be exiled to the patio for the next month or so. That is guaranteed to end kayak usage for that period of time as well. It is just too much of a pain in the a$$ to get the kayak out through the front door to make taking the yak out for the weekend a reality. The only thing that is going to get that thing off the patio is some sort of massive yellowtail bite that is going to happen on a weekend. I was thinking of getting a storage locker where I could keep the yak and all my fishing gear. When I thought we would be here in San Diego through May, the storage locker made sense. Now it looks like we'll be relocating by November or December, so I'll probably just skip getting the locker. We'll need to get a place with a garage when we move to L.A. I'm never going to permanently store the yak on the truck again.

So that's basically the end of fishing for me for the rest of the year. Most of my weekends will be occupied by hunting through November and then we will be moving. I just don't see much time for fishing. That's too bad. I was really hoping to do a little hooping this season. Oh well. If I don't kill some deer or pigs this season I'm really going to regret putting the yak away early.

So long.......
From The Overloaded Kayak Images

Hello.........


UPDATE!

OK, I don't feel so bad about putting the kayak away for the winter.

2010 buck photo IMG00006-20101106-1817.jpg

I had success on the third week of deer season.  I got a small D-13 buck near Mt. Laguna.  The fridge full o' venison takes some of the sting out of not getting out on the water.

Friday, September 3, 2010

Bilge Pump!!!

Well, I finally got off my butt and installed the bilge pump. I’ve been thinking of doing this for years, but there were always some issues that made me decide against it. For one thing, I never found a bilge pump that would fit where I wanted it. Most have a round base which would make it difficult to mount along the keel in either the X-Factor or the Stealth 14. The Whale Supersub 500GPH pump is the perfect solution. It is very narrow and can be mounted horizontally. It is a nearly perfect fit for the keel of the Stealth 14 or X-Factor. Another thing holding me back was the necessity for a check valve. Most check valves that I had seen at boating supply stores were large, heavy and expensive. The Whale check valve is lightweight plastic and is relatively inexpensive. After seeing ful-rac’s beautiful bilge pump installation on BWE, I decided that I would finally install one myself.

After test-fitting the pump and discharge line in various locations and attitudes, I settled on a spot just behind the seat in the keel channel. In order to get to this I had to remove my custom drop-in hatch/storage module.

From The Overloaded Kayak Images

That was a pain in the ass. I stubbornly refused to take my kayak off of the truck rack, so I couldn’t put any pressure on the well nuts as I was unbolting the tank. The damn well nuts just spun and spun as I tried unscrewing them. I finally got enough out to make the last one easy. I just pulled the whole thing up until the rubber body tore out. No harm, no foul. I was planning on replacing all the hardware anyway.

The pump is just held down with Marine Goop. I roughed-up the hull and the pump mounting plate before applying the Goop. This has worked well for me with transducer installations. I’ve had to pry some transducers up with a hammer and screwdriver. I’m sure the pump won’t go anywhere once the Goop cures.

From The Overloaded Kayak Images

I carefully used a 1" spade bit to bore the hole in the hull for the overboard discharge. I’m always a little nervous when making large holes in the hull. My first thru-hull for a Kayatank was a pretty ugly sight. The bit wobbled and I ended up with a triangular hole on the bottom of my X-Factor. No such problems this time. I threaded the thru-hull fitting in the hole and applied 5200 on the flanges.

From The Overloaded Kayak Images

From The Overloaded Kayak Images

After the Goop had a day to cure, I installed the overboard discharge line.

From The Overloaded Kayak Images

I was thinking about doing the anti-backflow bend that Jim Day had recommended. Unfortunately, the drop-in tank prevents me from doing this. I’ll monitor it closely on my first few trips to see how much water makes it through the check valve. I’ll probably just use a plug in the overboard discharge. I’m not too worried about going that route. I’m not using an automatic bilge pump, so I don’t have to worry about it inadvertently blocking the discharge. Pumping the bilge will require my action and this will just be part of the procedure. I think Jim’s idea for preventing backflow makes sense; I just didn’t have room to make it work. I also like the idea of a nearly straight discharge line. There is no way the Tygon tube will kink with the setup I’m using.

The inside of my hull is looking a little busy now. We’ll see how this works out.

Tuesday, August 24, 2010

Getting back in the game

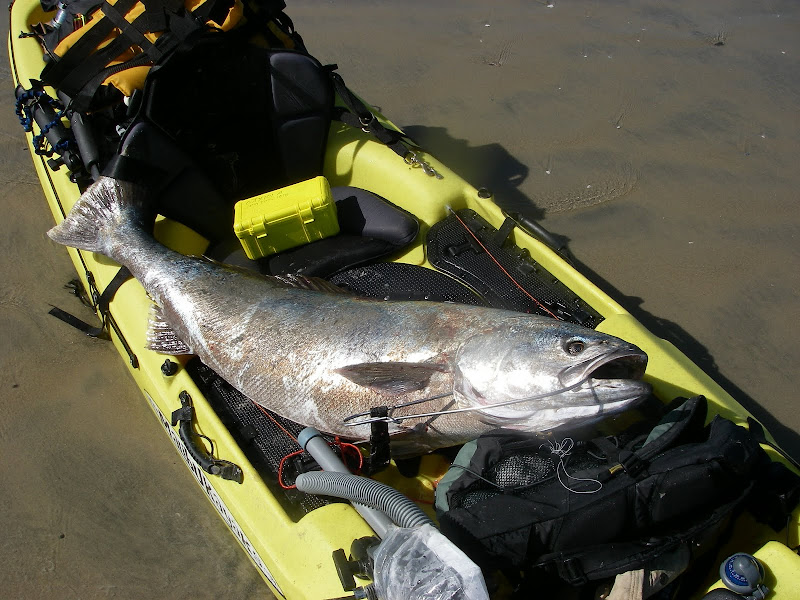
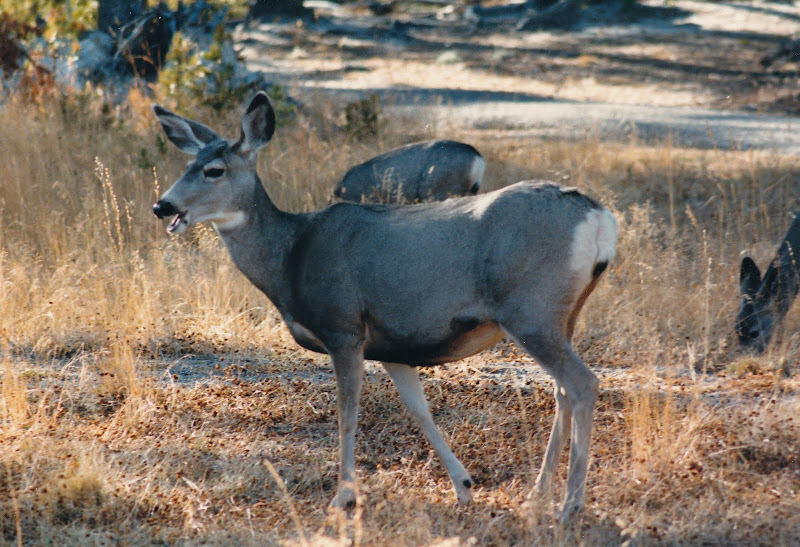
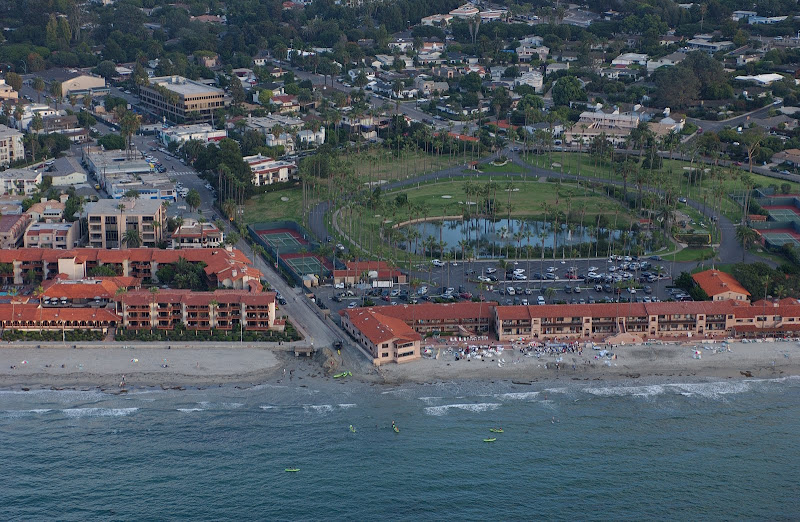
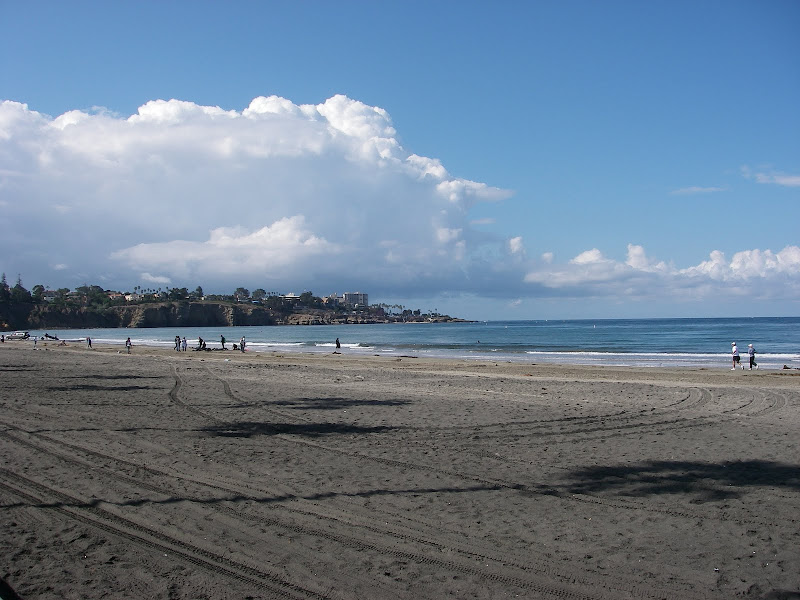
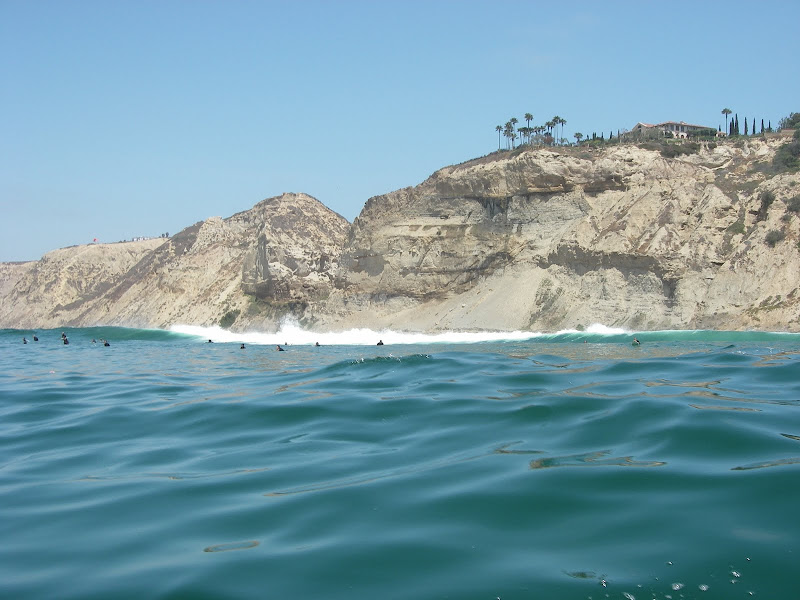
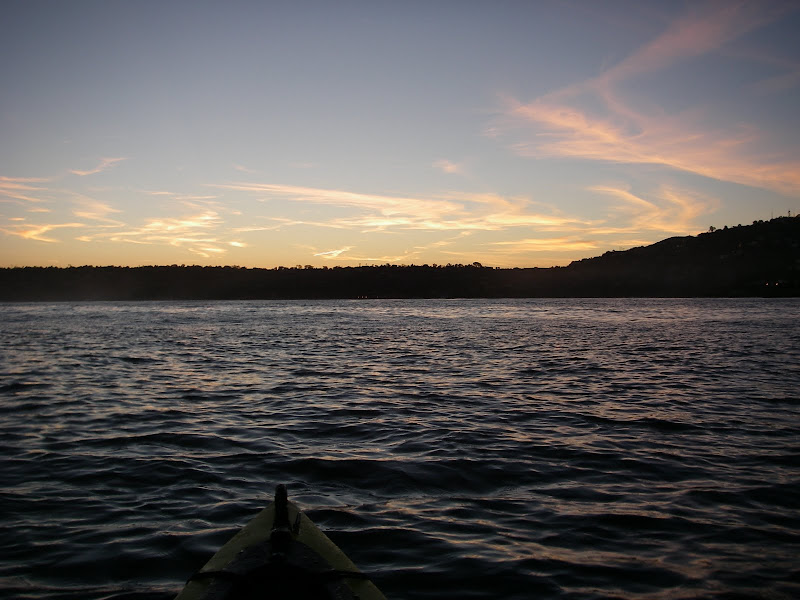
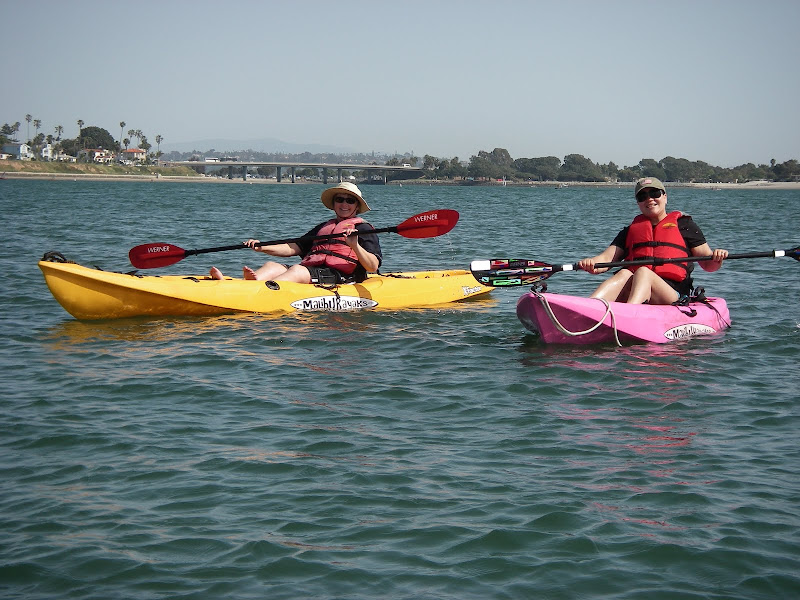
The brief paddling session at La Jolla, where my sister and I spread our mother's ashes, has rekindled the kayak bug in me. In spite of the back spasms, I felt pretty good. Just getting out on the water after taking three months off was very cool. Every time my back problems force a kayaking hiatus I go into some serious withdrawal symptoms. This time wasn't as bad, because I got totally wrapped up with getting ready for hunting. All the working out to get ready for hunting hasn't really helped the back. I was hoping to kill two birds with one stone, but I haven't killed anything except my back. I might need another epidural to get through deer season and winter yellowtails.

In preparation for future kayaking, I've pulled the old power distribution unit/battery box and replaced it with a new one. The new battery box uses the same Underwater Kinetics waterproof case that I used for the old one. Amazingly, even though I added another battery, I simplified things a little. I've done away with all the lights. The only time I'll ever use anything other than a headlamp is for lobster hooping. For that activity, I think that having a mast-mounted light would be essential. When I need to use the mast light, I'll just make a mast with an integral battery and come up with some sort of temporary mount.

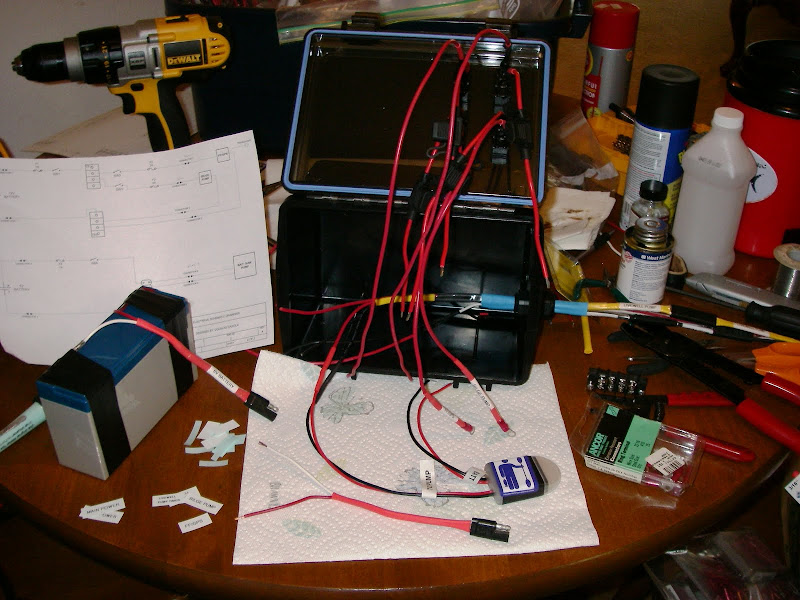
So, here are some pictures showing the construction of the new PDU.

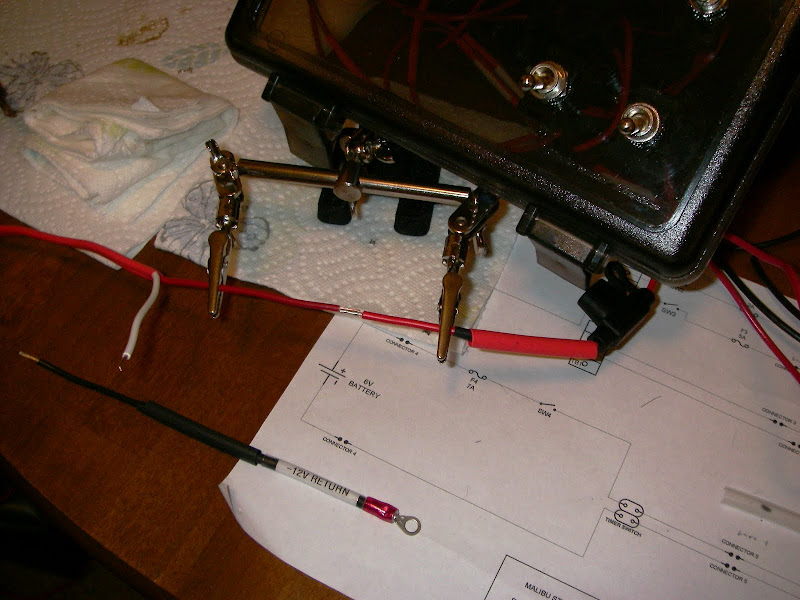
I started out by soldering leads to the switches that I'd be using and then coating the switches in Plastisol. The Plastisol does a great job of waterproofing the switches. After receiving several coats of Plastisol and getting some time to dry, I drilled holes in the case lid and installed the switches.

From The Overloaded Kayak Images

I decided right from the start that I was not going to use crimped butt splices inside the case. I wanted better electrical connections and more flexibility than crimped connectors would provide. This meant more work, but the final product was worth it. This time I had my handy-dandy Pan-a-Vise, which made the soldering much easier.

From The Overloaded Kayak Images

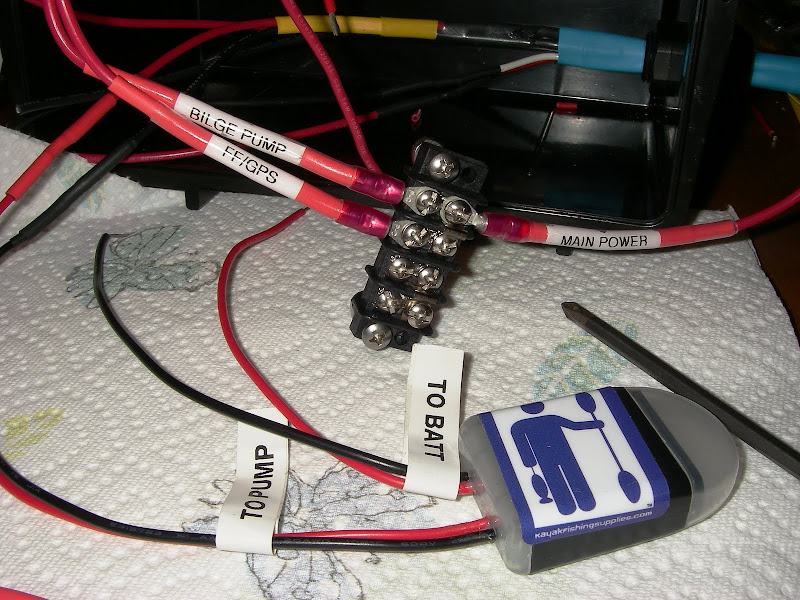
I tried to make this as clean and orderly as possible. Again, all connectors had wire markers which were protected with clear heat shrink. I also got to try out the new, programmable bait tank timer from OEX. This is better than having to buy and install a new switch if the water flow needs to be tweaked a little.

From The Overloaded Kayak Images

As always, I stuck to the schematic when doing the assembly. I have a tendency to screw things up when I ad lib. This new PDU features two batteries and two separate circuits. The bait tank pump will run off of a 6V 12a-Hr. battery. The 12V system supplies the FF/GPS and the bilge pump. As the bilge pump is only for emergencies, I should get several days of usage from each charge of the 12V battery. This will make extended outings or mothership trips doable without having to take a charger. I've found from experience that the battery will run the pump long after I've reached the 10.2VDC low-voltage shut down point on the FF/GPS. There is no chance that just the FF/GPS will run down the battery to the point that the bilge pump can't do its job.

From The Overloaded Kayak Images

With this project, I tried a new assembly approach. Rather than wiring up the system and then installing the parts, I did things in a more logical order. I installed the switches and external cables and then soldered all the wires together. This method is a little more difficult and time consuming, but it made the final routing of wires much easier. The previous PDU was a pain in the butt to wire up. I had already installed the terminal block and I had to attach the connectors to it inside the box. I think I dropped those damned tiny screws a dozen times while installing each connector. This time I made up all the soldered connections and then attached the wires to the terminal block outside the box. With the mounting holes already drilled in the box, mounting the terminal board once it was all wired up was a breeze.

From The Overloaded Kayak Images

After all the electrical connections were made, I broke out the multi-meter to do the pre-install testing. I learned my lesson on the last PDU.....never blindly trust my own work. As Ronald Regan said; "Trust, but verify." I made sure that everything worked properly before I installed the terminal board and dressed the wiring. Better safe than sorry.

From The Overloaded Kayak Images

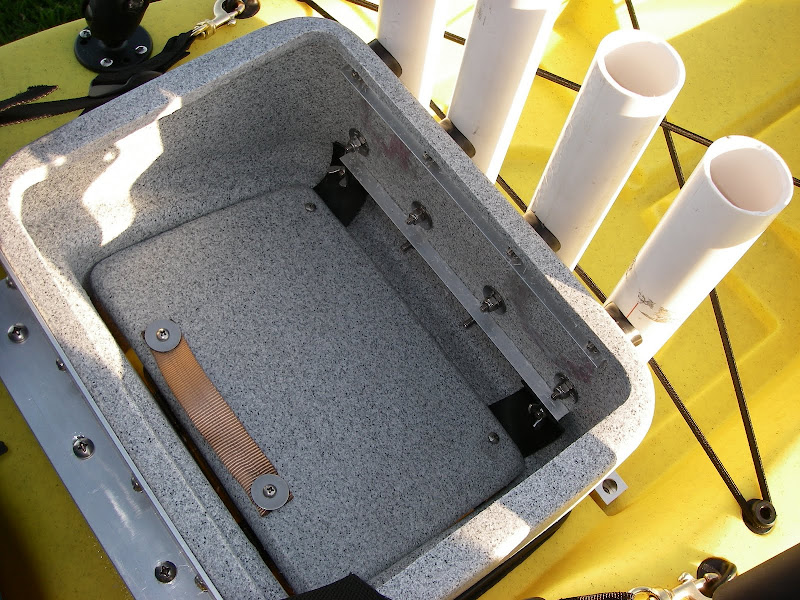
I could have dressed this out a little neater, but there just wasn't a lot of room in the PDU once the two batteries were installed. My main objective was to ensure that the lid could be opened and closed without crimping wires or pressing on any components or connectors.

From The Overloaded Kayak Images

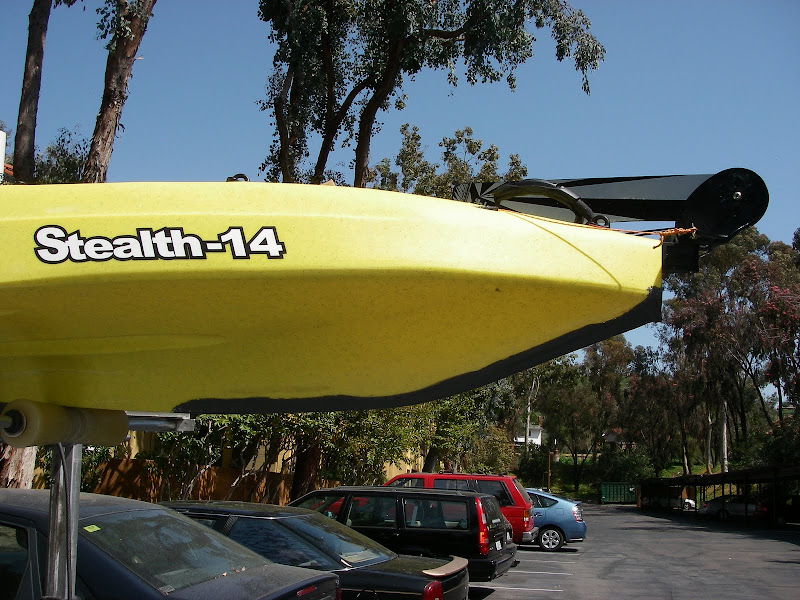
The finished product is pretty nice. It sealed up well, so I don't think I'll have to add desiccant packs. All exposed metal and connector pins got a coating of Fluid Film for corrosion prevention. I am going to leave this PDU in the kayak all the time. I will just remove the batteries for charging. I don't like leaving the connectors laying, exposed in the bilge anymore. The Stealth takes on too much water for this to be a good practice. I've already seen some corrosion on the original connectors inside the hull. From now on, I'm only going to pull out the PDU if I have to remove all weight from the yak. I'll just spray the connectors with Fluid Film, plug them in and leave them in place.

From The Overloaded Kayak Images

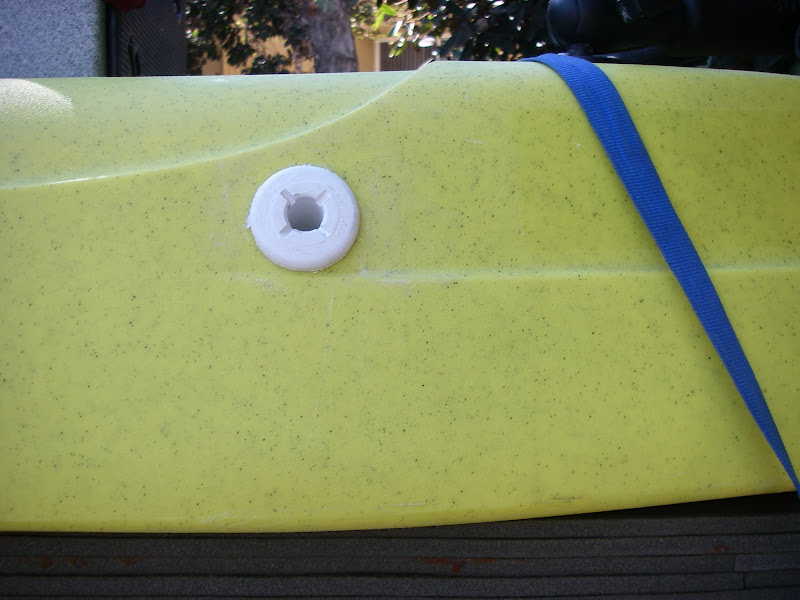
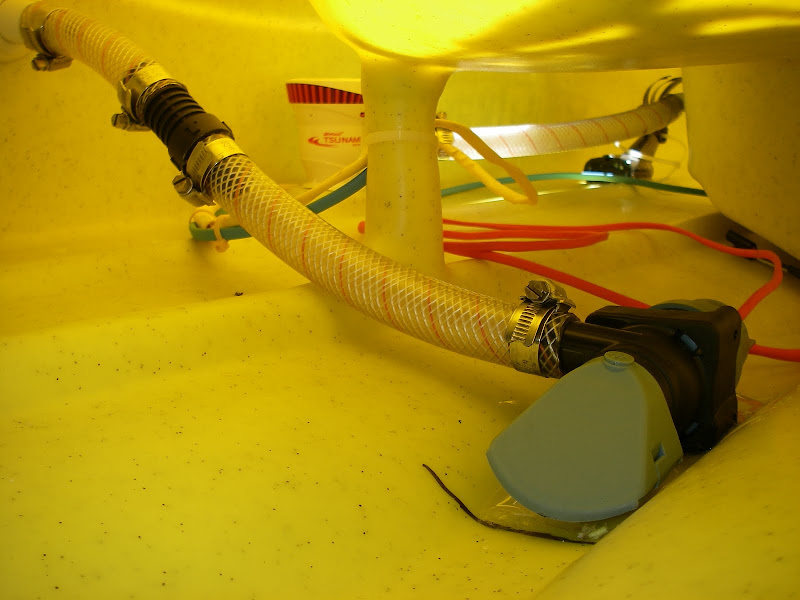
Next step is installing the bilge pump and overboard discharge line. I think I'll do that when it cools down a little.

Wednesday, August 11, 2010

Ask and ye shall receive

Somebody wants to see some views of the La Jolla shoreline. Here ya' go

From The Overloaded Kayak Images
A view of The Jewell from Torrey Pines

From The Overloaded Kayak Images

From The Overloaded Kayak Images
The La Jolla Shores launch site

From The Overloaded Kayak Images

From The Overloaded Kayak Images

A big swell at Blacks

From The Overloaded Kayak Images
Big surf at Scripps Pier

From The Overloaded Kayak Images

Sunrise at La Jolla

From The Overloaded Kayak Images
Quiet morning at the point

From The Overloaded Kayak Images
The surf picks up

From The Overloaded Kayak Images

From The Overloaded Kayak Images
The sea caves at La Jolla

From The Overloaded Kayak Images
Not a good day for paddling

From The Overloaded Kayak Images
This is what kayak fishing is all about

Wednesday, August 4, 2010

Last trip on the kayak

My sister, Lori, and I paddled out from La Jolla Shores today to carry out our mother's final request. For years, she used to joke about having me scatter her ashes at the bait barge. She didn't really mean for me to do it at one of the bait receivers; she just liked that term. She was, however, serious about having me scatter her ashes from my kayak. She passed away last September, and ever since I have been planning on carrying out her wishes. Lori and I haven't been able to work it out until now. She was down here to help her daughter move and had some extra time built into the schedule. Things worked out perfectly and we were able to get out to La Jolla this morning. We paddled out to a spot, past the reserve marker buoys, where I usually make bait. I thought this would be fitting and would fulfill Mom's wishes without me having to break state law or annoy the guys at the Everingham Brothers receiver.

Every time I make bait I'll remember this day. I'm sure every mac I catch will have a strong, independent spirit.

Farewell

Thursday, April 1, 2010

New kayak plans

I'm actually thinking about going back to an X-Factor. The Stealth 14 is a nice yak with some very good features, but it does take on a lot of water. I haven't figured out exactly what the cause is. All evidence points to the bow hatch and the center hatches. I don't know if it is one or both. I need to launch from the bay to verify the culprit. If I don't take on any water during the launch, but I come back in wet, I'll know it is the side hatches. I don't mind pumping out the hull occasionally, but this is a little much. I've never had a yak take on this much water before. The X used to get some on surf launches, but after I modified the bow hatch it was significantly reduced. I can mod the bow hatch on the stealth to make it a little more watertight, but I can't do much about those side hatches.

Most of my reasons for going with the Stealth don't seem to make much sense now. The reduction in fabrication and installation time didn't pan out. Now that I have the rear hatch tank storage, I could just drop it into an X-factor with no problems. I could get CJ to make me a Kayatank. The installation would be easy enough as long as I start with a bare yak. Actually, starting with a bare yak would make make a lot of things easier. The rudder installation would definitely be easier. It is ironic, but I overcame most of the issues with the X when I was working on the Stealth. I could apply all of those fixes to a new X. The only concerns I still have about the X-Factor are:
1. Hull thickness and flex. I would go with another heavy layup to help with this problem. I can also reinforce the seat posts and use inflatable fenders or foam in the hull to support the seat.
2. Bow hatch waterproofing. I would need to cut the bow hatch myself to make it a little drier. That should be easy enough
3. Cost. I don't want to lose too much on a replacement. I need to sell the Stealth for at least $500-$600 to make this doable. I don't want to leave the RAM rod holders, FF/GPS, storage box and rudder on it when I sell it. The cost of replacing those would be more than the yak. I'm just hoping I can cobble together enough parts to make the stripped yak worth selling. I can easily add flush-mount rod holders and I think I still have the foot rests and tracks. I would even include the seat and cart with it to get a decent price.

The biggest concern is that it will cost me another couple of weeks of time and effort to make the switch. If I'm going to do it, I've got to make a decision quickly.

Tuesday, March 30, 2010

Kayaking with Sistah Soujah (actually-Sistah Sailah)

Lori came down for the weekend and we did a little paddling. Lupe, Lori and I hit Mission Bay for a quick paddle sesh on Saturday. Not the best day for paddling; very blustery. Wind and Kayak are not friends. We made the best of it and had some fun.

From The Overloaded Kayak Images


From The Overloaded Kayak Images

Bad day on the water

Somebody stole my waders. Got really wet going out. Cold, windy and big swell outside. Nine hours on a broken seat=sore back. No fish, but, on the bright side, I caught a lobster trap. Big surf landing (but dry). Lost my rod carry strap. Came to the realization that my kayak takes on water like a cheap colander.

I've got until Saturday to try and fix the seat, or get another. At least Lori gave me a gift certificate to OEX.

Wednesday, March 24, 2010

Protecting the hull of my kayak

Dragging a plastic kayak around takes a toll on the hull. The wear is especially bad if you drag it on concrete or asphalt. With the height of my truck rack I'm forced to rest the kayak on the stern when I take it down. While I try to put a mat down on which to rest the stern, there is always some amount of dragging. This has started to wear down my stern. There was actually enough wear that it had really started to concern me. At this rate I would have a hole in the stern before my yak was 6 months old. I started looking for solutions almost as soon as I noticed the wear. I had looked into some likely options, but all had some drawbacks; not durable, too much effort to fabricate, etc. When I was at the Fred Hall Show in Long Beach I discussed the problem with Mark Olsen, a sales manager for Ocean Kayak. He told me that some people were making skid pads from JB Weld. Having just reinforced my new kayak cart with JB Weld, I could see how this might work. Mark assured me that the JB Weld would bond well to the hull if the plastic was roughed up with sandpaper. Sounded good to me.

I went out and bought 4 packs of JB Weld. I used some 100 grit sandpaper to rough the hull along the keel and then masked it off with electrical tape. I mixed up three packs of the JB Weld and got to work with a putty knife. The epoxy went on easily enough, but soon started dripping. I had to quickly flip the kayak over to keep it from dripping all over my tailgate. I think I should have applied it a little bit thinner. There was just too much epoxy to set quickly. I had to flip the kayak twice to try and control the running. In the end, I had to remove the tape and smooth it out with a putty knife. That's when it went from looking kind of professionally done to looking like a typical Gax job. Oh well. It isn't there for looks; it is there to protect the kayak.

From The Overloaded Kayak Images


In addition to the JB Weld, I also stuck a piece of aluminum strip into the JB Weld at the very tip of the stern. I coated the strip in JB Weld as well. If it works as envisioned, the aluminum strip will take the majority of the wear as I load and unload my kayak.

From The Overloaded Kayak Images

This detail view shows the aluminum strip embedded in the JB Weld. It needs another coat of the JB Weld to fill the gaps.

From The Overloaded Kayak Images


We'll see how this works. I think it should be effective.